wildebus
Full Member
- Messages
- 7,779
Just about everyone have their Campers and Motorhomes parked up for likely the next 2 months and quite possibly longer. But just like a parked-up car, the Starter Battery will start to flatten when not used.
Various ways to deal with this ...
If you have a VSR split-charge system, this will engage when the Leisure Battery is under a charge, so that will help take care of the starter.
Some Solar Controllers can do a trickle-charge to the Starter when there is PV Harvesting
Some Factory Motorhome Electrical Systems will do a Starter Trickle Charge.
But the majority of campers do not have any of the above, so need an alternative way.
One option - and could be a worthwhile option - is simply to disconnect the Starter Battery. This will prevent it draining as fast (but bear in mind stuff like Central Locking, Vehicle Alarm and those kind of things will no longer operate.
Another option - and one for the longer term - is to fit a Battery Maintainer, and I thought I would do a post to show how simple it can be to fit a Battery Maintainer and it is definately a DIY job you can do while your van is stranded on the driveway.
There are a number of standard Battery Maintainers around, for example Nick of vanbitz on the forum have the Battery Master unit. This following how-to will be done using the Ablemail AMT Battery Maintainer, but the principle of installing one will be pretty much the same no matter which one you get so you can look at this example and apply the steps to whatever you get if you decide to get one.
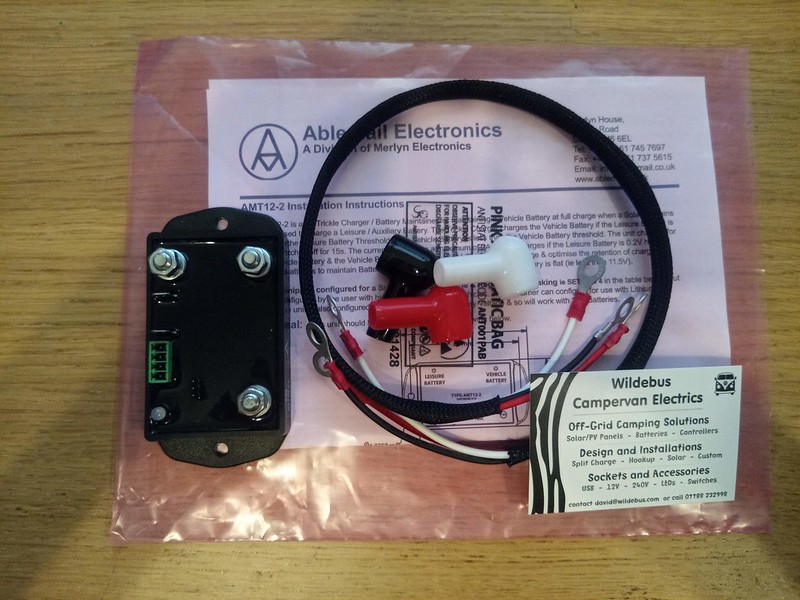
So for the AMT 12-12 Battery Maintainer, this is what you get
Battery Maintainer by David, on Flickr
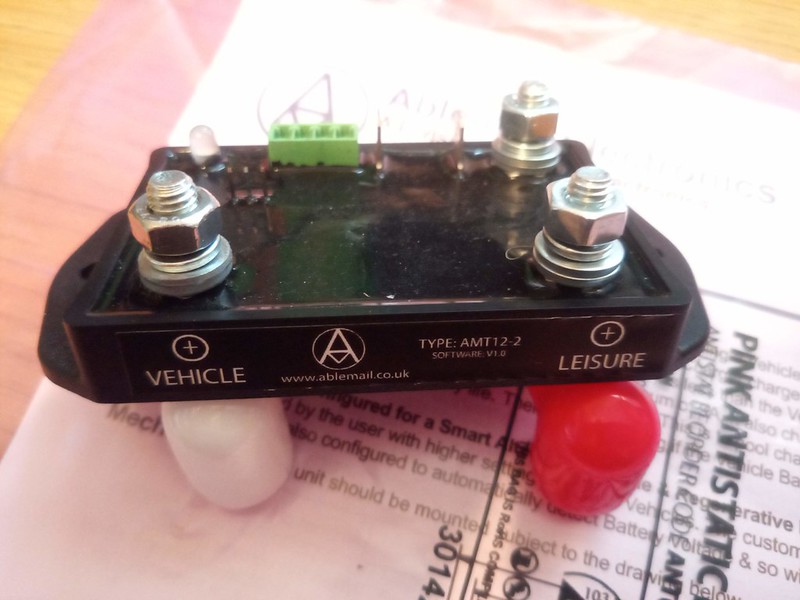
There are three connections (and this will be also true of any maintainer) - 0V (Ground) at the back, +V Leisure (so the +ve of the Leisure/Habitation Battery) and + Vehicle (so the +ve of the Starter/Vehicle Battery)
What I recommend you get to go with this Battery Maintainer are some cables and boots. Some Maintainers may have attached cabling pre-wired; others will need cables to be fitted.
Battery Maintainer by David, on Flickr
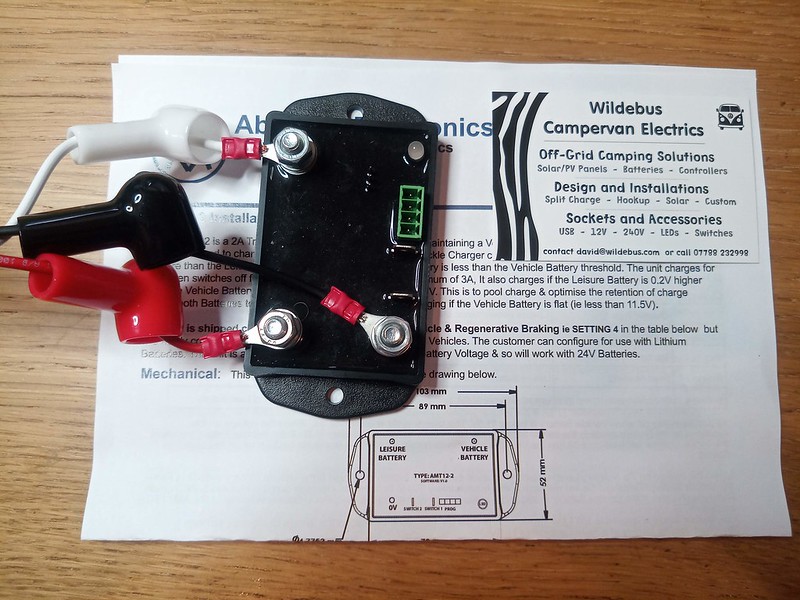
So installation is dead easy. You connect up the cables to each of the studs on the AMT. I am using Black from the 0V, Red for the +Leisure and White for the +Vehicle. Any colours can be used of course, but I am using those for a specific reason
Battery Maintainer by David, on Flickr
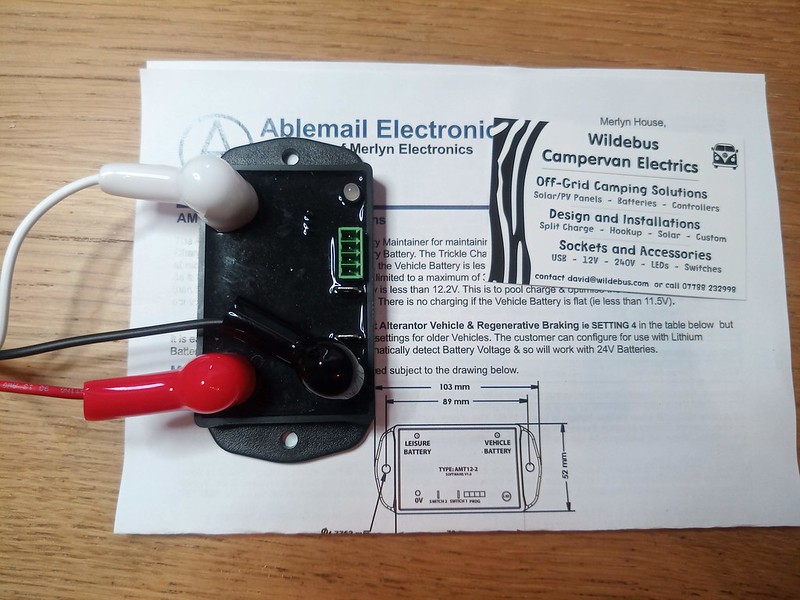
You then slide the cable boots over the studs and they are now nicely protected
Battery Maintainer by David, on Flickr
Now the key thing now is to connect the 0V and the two +V cables to appropriate connections for the Starter and Leisure Battery. Exactly where is the best place in YOUR van will vary from vehicle to vehicle, but I find a good place to use is a B2B (Battery to Battery) Charger if there is one fitted, and this is what I have done here.
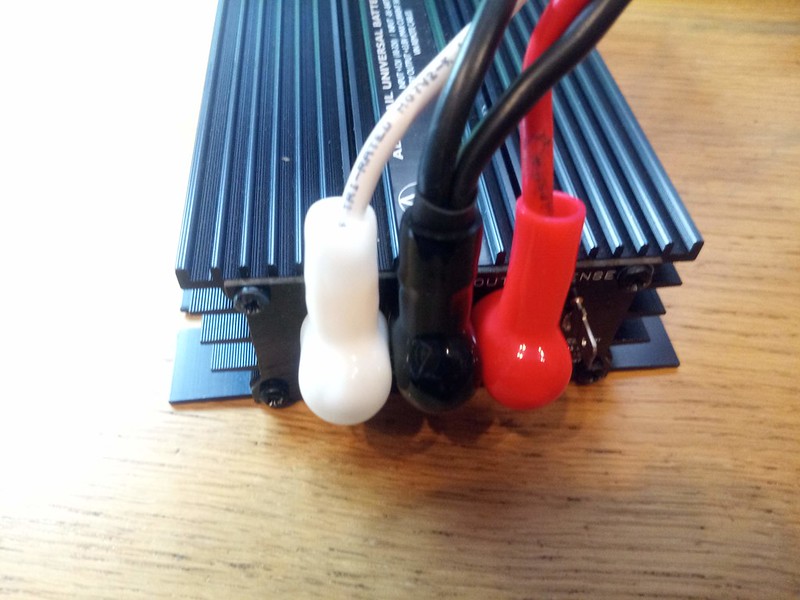
I am going to connect all three cables to the corresponding terminals on this Ablemail B2B
Battery Maintainer by David, on Flickr
The fact both the Battery Maintainer and the B2B are both Ablemail products is irrelevant. Just like any Battery Maintainer will have those three terminals I mentioned, every B2B will also have the same +V for Starter and Leisure Batteries and a Ground/0V connection. There is no communication between the two devices, it is just a handy place to piggy-back the cables.
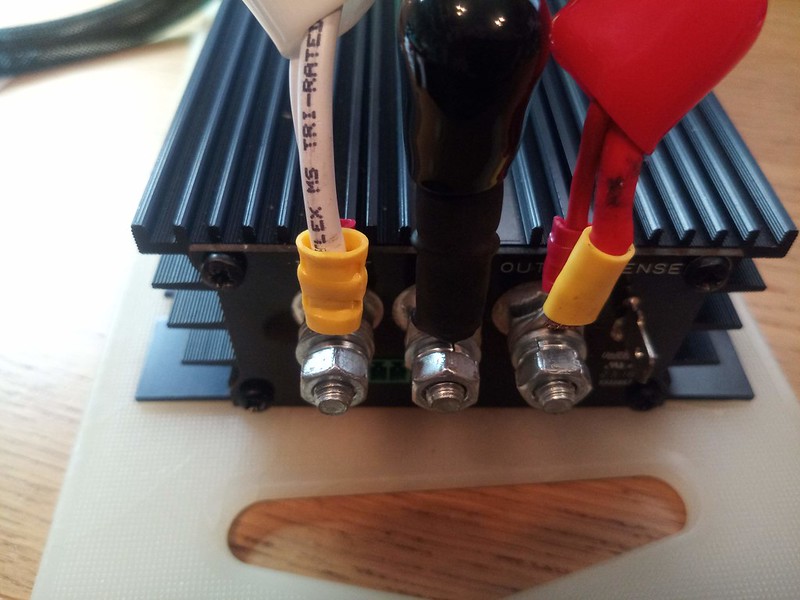
So now simply a case of connecting the cables up. With this B2B, I just undo the nuts and double up the ring terminals
Battery Maintainer by David, on Flickr
You see here why I chose to use Red, Black and White - it corresponds to the B2B wiring (and also the stud boots as well).
And that is all there is to it to have the Battery Maintainer working.
In this example, if you got the cables with the Battery Maintainer the only tool you needed to have for the entire installation was a 10mm socket
OK, so what does it look like working? This particular Battery Maintainer operates on a constant cycle of 3 seconds on, 9 seconds off, with a maximum current of 3A.
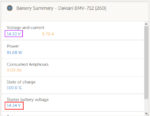
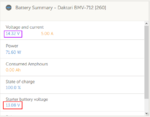
This is my own van, looking at the Starter Battery over the last 7 days

As you can see, the voltage has been decaying over the last 7 days and dropped down to 12.2V by around lunchtime today. Now my Starter Battery is pretty new (under a year old) so is holding up well. While I don't have an Alarm, I do have a tachograph that is always ticking away and using power, so keeping an eye on the Starter Battery is pretty important for me.
The sudden spike is when the Trickle Charger was connected. You see the immediate effect of the Solar now able to work on the Starter Battery as well as the Leisure Battery.
Drilling down into more detail, you can see how it is working

Connected just before Noon and the voltage went up and stayed at a fairly constant 12.4V. It is 12.4V as the unit came pre-configured for a vehicle with a SMART alternator, and with those vehicles you do not actually want to fully charge the starter battery due to the way the vehicle electrics work with stuff like regenerative braking.
I then changed the mode from the default "4" to Mode "1". This changes from a SMART Alternator to a basic one like on my 2003 VW. The effect of this on the AMT is to change the maintenance voltage from 12.4V to 12.8V (so keep the Starter Battery pretty well fully charged). Modes 2 and 3 are the same ref SMART/Dumb Alternators, but tuned to Lithium Leisure Batteries rather than Lead Acid technology.
I hope this may have been of some use or interest. At least it would have killed a bit of time for anyone reading it as well as for me typing it up . (I thought I would do this write-up as I was connecting the Battery Maintainer up anyway to do a little pre-check before sending it off to Switzerland).
Cheers and Have Fun!
Various ways to deal with this ...
If you have a VSR split-charge system, this will engage when the Leisure Battery is under a charge, so that will help take care of the starter.
Some Solar Controllers can do a trickle-charge to the Starter when there is PV Harvesting
Some Factory Motorhome Electrical Systems will do a Starter Trickle Charge.
But the majority of campers do not have any of the above, so need an alternative way.
One option - and could be a worthwhile option - is simply to disconnect the Starter Battery. This will prevent it draining as fast (but bear in mind stuff like Central Locking, Vehicle Alarm and those kind of things will no longer operate.
Another option - and one for the longer term - is to fit a Battery Maintainer, and I thought I would do a post to show how simple it can be to fit a Battery Maintainer and it is definately a DIY job you can do while your van is stranded on the driveway.
There are a number of standard Battery Maintainers around, for example Nick of vanbitz on the forum have the Battery Master unit. This following how-to will be done using the Ablemail AMT Battery Maintainer, but the principle of installing one will be pretty much the same no matter which one you get so you can look at this example and apply the steps to whatever you get if you decide to get one.
So for the AMT 12-12 Battery Maintainer, this is what you get

Battery Maintainer by David, on Flickr
There are three connections (and this will be also true of any maintainer) - 0V (Ground) at the back, +V Leisure (so the +ve of the Leisure/Habitation Battery) and + Vehicle (so the +ve of the Starter/Vehicle Battery)
What I recommend you get to go with this Battery Maintainer are some cables and boots. Some Maintainers may have attached cabling pre-wired; others will need cables to be fitted.

Battery Maintainer by David, on Flickr
So installation is dead easy. You connect up the cables to each of the studs on the AMT. I am using Black from the 0V, Red for the +Leisure and White for the +Vehicle. Any colours can be used of course, but I am using those for a specific reason

Battery Maintainer by David, on Flickr
You then slide the cable boots over the studs and they are now nicely protected

Battery Maintainer by David, on Flickr
Now the key thing now is to connect the 0V and the two +V cables to appropriate connections for the Starter and Leisure Battery. Exactly where is the best place in YOUR van will vary from vehicle to vehicle, but I find a good place to use is a B2B (Battery to Battery) Charger if there is one fitted, and this is what I have done here.
I am going to connect all three cables to the corresponding terminals on this Ablemail B2B

Battery Maintainer by David, on Flickr
The fact both the Battery Maintainer and the B2B are both Ablemail products is irrelevant. Just like any Battery Maintainer will have those three terminals I mentioned, every B2B will also have the same +V for Starter and Leisure Batteries and a Ground/0V connection. There is no communication between the two devices, it is just a handy place to piggy-back the cables.
So now simply a case of connecting the cables up. With this B2B, I just undo the nuts and double up the ring terminals

Battery Maintainer by David, on Flickr
You see here why I chose to use Red, Black and White - it corresponds to the B2B wiring (and also the stud boots as well).
And that is all there is to it to have the Battery Maintainer working.
In this example, if you got the cables with the Battery Maintainer the only tool you needed to have for the entire installation was a 10mm socket
OK, so what does it look like working? This particular Battery Maintainer operates on a constant cycle of 3 seconds on, 9 seconds off, with a maximum current of 3A.
This is my own van, looking at the Starter Battery over the last 7 days
As you can see, the voltage has been decaying over the last 7 days and dropped down to 12.2V by around lunchtime today. Now my Starter Battery is pretty new (under a year old) so is holding up well. While I don't have an Alarm, I do have a tachograph that is always ticking away and using power, so keeping an eye on the Starter Battery is pretty important for me.
The sudden spike is when the Trickle Charger was connected. You see the immediate effect of the Solar now able to work on the Starter Battery as well as the Leisure Battery.
Drilling down into more detail, you can see how it is working
Connected just before Noon and the voltage went up and stayed at a fairly constant 12.4V. It is 12.4V as the unit came pre-configured for a vehicle with a SMART alternator, and with those vehicles you do not actually want to fully charge the starter battery due to the way the vehicle electrics work with stuff like regenerative braking.
I then changed the mode from the default "4" to Mode "1". This changes from a SMART Alternator to a basic one like on my 2003 VW. The effect of this on the AMT is to change the maintenance voltage from 12.4V to 12.8V (so keep the Starter Battery pretty well fully charged). Modes 2 and 3 are the same ref SMART/Dumb Alternators, but tuned to Lithium Leisure Batteries rather than Lead Acid technology.
I hope this may have been of some use or interest. At least it would have killed a bit of time for anyone reading it as well as for me typing it up
Cheers and Have Fun!


