Sonar
Free Member
- Messages
- 786
After a hit and run in a car park
I have had to replace my rear lights
Had them a while now.
We’re intended for a boat trailer. By someone else but they were not suitable for them hence I got them.
Anyway
I soon realised there is nothing to fix them to.
As the bumper corners are hollow .
So I had to made some holders
I made a plug so as to make two mouldings to hold the new and quite thin led lights.
I had to do this as the old lights were deep …
Made out what ever I could find and all fixed together with a hot glue gun.
This will all end up in the bin so no loss there ..
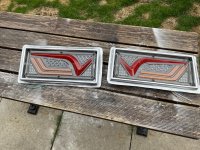
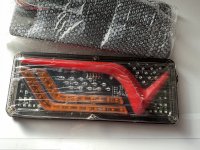
The new led lights are bigger than the old lights .
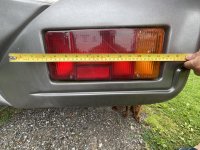
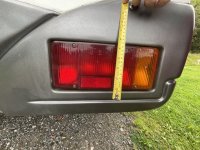
So making a custom insert to hold the lights that can then be fitted to the bumper sections. And they will be fixed where the old lights are…with the flange inside of the cut out bumper section.
Start with making a mould. And then the two holders them selves.
Fitting them then will be a very easy job.
I will again be spraying the bumpers and side skirts again at a later date.
By the way in case one brakes or gets smashed I have another new set put away in the spares bin.
There are a few images of the moulding it’s rough but only has a single use.
Nothing is seen it’s just a cover and holder for the light.
Thats fitted behind the bumper corners..
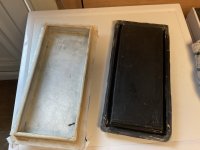
Image 1 is the rough box and then I made the mould from it.
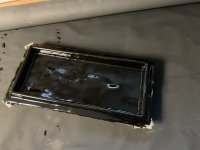
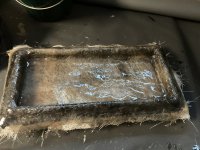
Image 2 and 3 gel coated the mould and then GRP laid up.
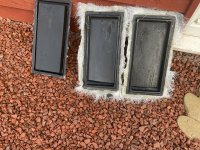
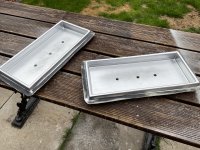
Image 4 the mould and the mouldings.
Image 5. Trimmed and painted mouldings
Image 6 LED lights fitted into the holders..
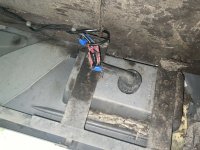
Images 7 / 8 / 9. Are where the mouldings and led lights are going to be fitted.
After cutting away the bumper the moulding flange is fixed to the bumper from the inside pop riveted into position and then filled and made ready for painting.
some wires that had to be renewed so the wiring is tidy and water sealed.
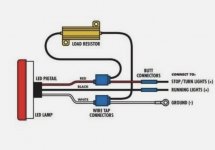
Also now noted there has to be a resister fitted to the indicators and thanks to the forum this has now been solved
Thankyou member Pudsy.
When the weather is ok I will complete the works and respray all the silver /grey inc wheel rims and the bumper .. already have everything required to do it all stored away in the shed….
Please note ….just to comply with the lighting regs….
If anyone is thinking about this type of lighting there must be an additional red reflector added. As these do not have one integrated within in the lens .
But and additional reflector then complies with the law and the mot.
I will update this when I have sprayed the bumper ….
Attachments
-
 IMG_0535.jpeg193.5 KB · Views: 11
 -
 IMG_0533.jpeg210.1 KB · Views: 11
 -
 IMG_0534.jpeg302.6 KB · Views: 11
 -
 IMG_0537.jpeg531.2 KB · Views: 10
 -
 IMG_0538.jpeg425.4 KB · Views: 11
 -
 IMG_0539.jpeg531.4 KB · Views: 12
 -
 IMG_0523.jpeg438.3 KB · Views: 12
 -
 IMG_0524.jpeg429.8 KB · Views: 10
 -
 IMG_0527.jpeg312.7 KB · Views: 12
 -
 IMG_0570.jpeg382.9 KB · Views: 12
 -
 IMG_0569.jpeg99.2 KB · Views: 13
