Sonar
Full Member
- Messages
- 163
Since buying out fixer upper I have done a lot of work far more than the Moho is worth.
Still we’re not be getting another one. So we’re doing what we can so as it’s a bit upgraded.
Here’s the list. Most of the work ourselves..
Well here we go. It’s been somewhat of an adventure since we bought our
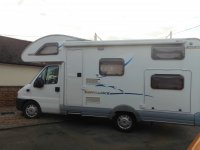
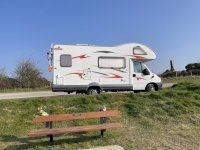
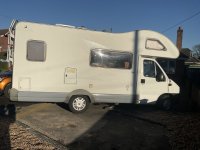
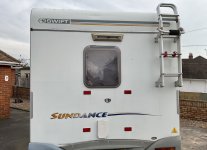
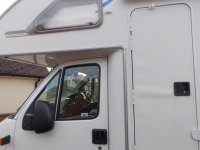
Fiat ducato swift Sundance 600B 2003 Moho.
I say adventure we have not been anywhere in it yet.
With a confirmed dvla of just under 19 k mileage .
A lot of jobs that needed doing and some that had to be done others just to put our own stamp on it.
Additions and improvements and essential items.
So all said and done it’s had a bit of a refurb.
We bought it knowing there was a bit to do to it and we were happy to take it on.
It’s not new its paid for and.
I Don’t mind if I get a few scratches or scrapes.
So here’s our list that seemed to go on and on.
Another few weeks. In fact turned out to be 11 weeks in total.
Fitted front parking camera.
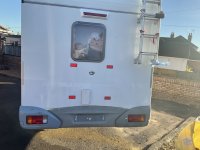
Fitted reversing camera.
Fitted plug and socket into dashboard so as to run the reversing camera monitor.
Nothing will be on display when parked .nothing to show there was anything there to start with.
Replaced All the interior lights with led lights and added a few.
Added a led strip light in the garage area.
Added a few interior 240 volt sockets and one inside the garage area.
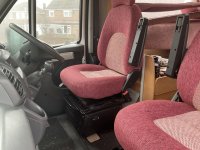
Added two 12 volt cigar sockets. To the under seat area under cab seats.
Replaced the engine bay battery.
Added a twin set of usb outlets to the side of the cab seats.
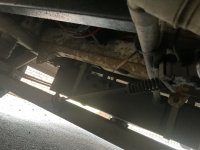
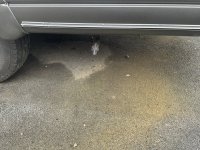
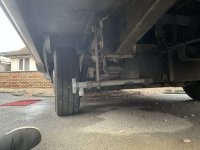
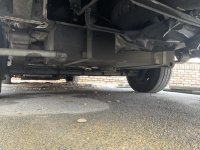
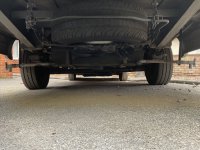
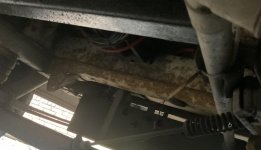
Wax oiled the entire underside .
Cleaned and applied underseal to all four wheel arches.
Changed high level brake lights for led strip light. And painted moulding.
Added security dead locks inside on both cab doors.And habitation door.
Secret safe fitted..
Replaced gas locker air vent.
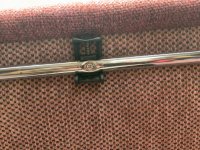
Replaced awning skirt rail . From plastic to alloy.
Replaced three Fiamma dead locks. And added another three to anything that opens with a key.
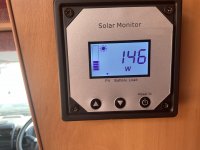
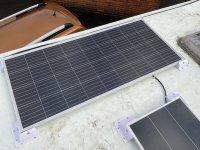
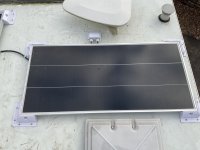
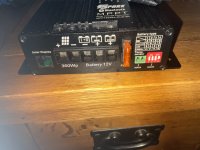
Solar two roof panels charging for two habitation batteries and the main starting battery.
Fitted an additional 95 AH battery and replaced the other for the same.so now two habitation battery’s.
Removed bike carrier and fitted 4 small reflectors over the existing mounting holes.
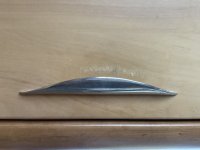
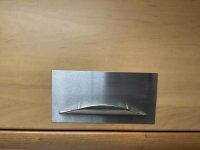
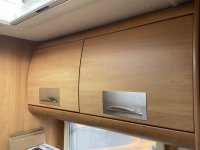
Steel finger plates fitted to all the opening cupboards.
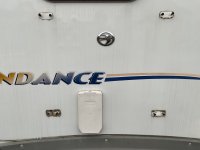
Replaced exterior graphics .
Fitted and wired new microwave oven.
Fitted removable hi vis window locks. Can be removed but only from inside.
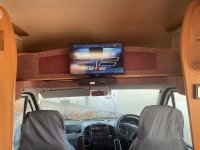
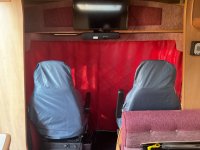
Removable tv. And Sound bar brackets. Made twin 12 volt cable to match And has a hanging bracket .
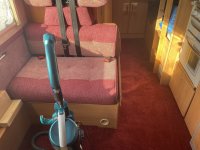
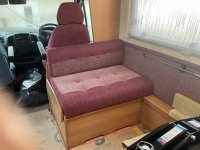
New interior carpets.and underlay Upto cab area.
Renewed cab mat for non slip rubber made to fit for the Fiat Ducato.
Fitted sound proofing to the floor inside all lower habitation units then carpeted.
Replaced the fridge exterior vent locking buttons.
Renewed All the plastic herzim trim.
Fitted external 240 volt awning socket
Replaced broken 240 volt hookup supply box and socket.
Fitted a new twist and lay flat kitchen sink tap.
Repairs made to habitation heater.and igniter.
Replaced all the lock barrels with a suited set so as to reduce the amount of existing keys.
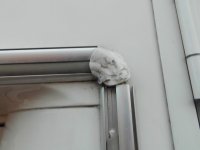
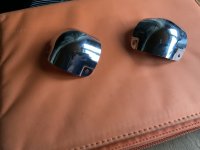
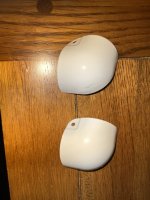
Replaced two trim corners. That used to be just a blob of sikaflex.
Replaced damaged rear bumper part. Now resprayed
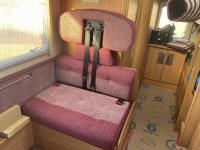
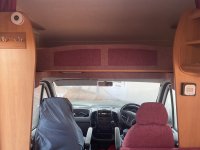
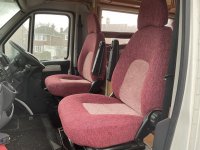
Driver and passenger seats re trimmed. (. Not by us )
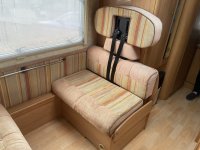
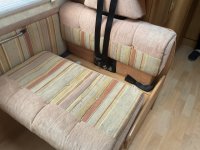
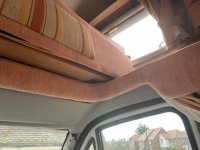
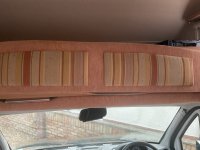
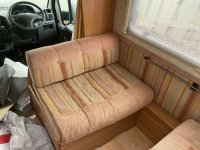
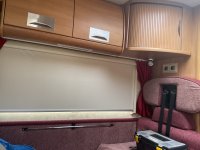
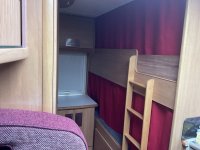
All upholstery including all panels reupholstered.
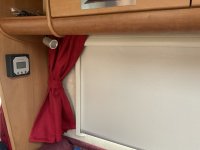
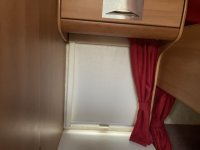
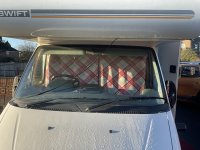
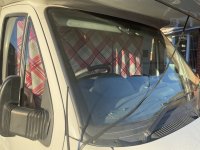
New curtains and all fully lined as replacements. Inc tie backs.
Added another two curtain tracks. And curtains.
New cab radio with Bluetooth for mobile phones.
new front lower cross member.
Renewed front brake pads.
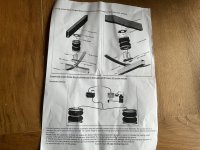
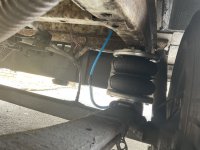
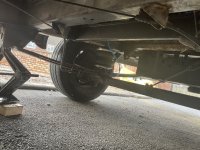
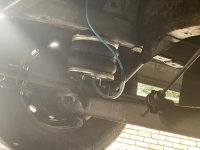
Replaced rear bump rubbers with an air bag system.
Fitted new underside plastic engine protector.
Repairs to wheel arch needed new steel and welding.
Welding repair to a non structural outrigger.
under seal to all wheel arches .
Some rubber seal trim to the top of the rear bumper and both wheel arches.
Secured all underside wiring using plastic cable clips and stainless steel screws and removed cable ties as were existing.
A set of new reg plated.
Resprayed rear bumper and side skirts. Along With wheel trims and front grille all plastic parts with plastic sealer paints.
Full engine service..
Up plated . Weight
Removed a lot of redundant wiring from previous installations of assorted items.
Numerous other little bits that needed tidying up and fitting properly. Mainly wiring….
Now looking as new as it can get.for a 2003
Removed all the exterior graphics and adhesive.
Cut and polished the motor home exterior. And applied new graphics.
And had a stage 1 ecu remap some might not agree with this but been done now but can be reversed if required.
new clutch and timing belt fitted @ 18993 miles
So this is now ready for a few weeks away. This does not include anything that we have made for the camping side of trips.
This has Not taken as long I thought it would. What with weather and an age thing
still I hope I am finished now for this year anyway. Still it was never a race.
front o/s track-rod end.
tracking
two new tyres on the front
new rear brake shoes and drums.
plastic pull on two blinds.
replaced fridge for a new thetford N4080E. And renew all the wiring. To the new fridge.
replaced the gear knob …The inside plastic bits fell out.
Updated the list
A new thetford fridge.
A new Fiamma S45 awning
A 5G Wi-Fi system
A smart 27 inch tv with built in dvd .
Awaiting an Amplo self levelling system booked in ..

