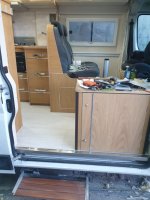
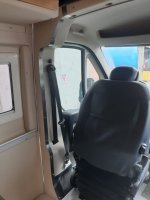
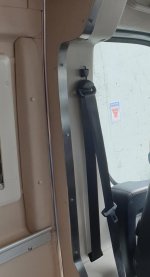
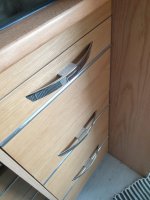
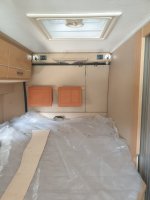
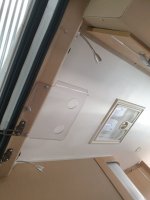
My campervan build

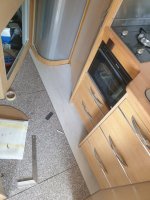
Very impressive work indeed. Keep the pictures coming. Assuming that the curved front of the kitchen top
is cut from a solid block, interested to know how you got such a good finish on the cut edge.
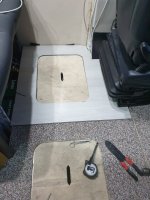
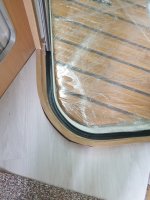
For these shaped cuts, I use a regular jigsaw to cut near the edge and then I use a small finishing router with a stencil made from lasercut acrylic to give the final pass. Another pass with the rounding bit made the final trim.
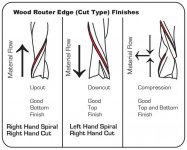
I also used the router extensively on the oak veneered plywood using a special up/down cut bit usually used in CNC machines. This is very important to avoid tear-off of the veneer.

I'm a tooloholic and have quite a collection to help with the various tasks :D

up-down-comp-1024x824.jpg
 
For those who might not know, you can also get down cut jig saw blades. This will cut fragile materials without tearing the surface.

Trend Professional Jigsaw Blades, Pack of 5, 100mm x 2.5mm, CV Down-Cut, Precision Wood Cutting, Universal T-Shank, JB/T101BR https://amzn.eu/d/bQbtPid
 
This about summarizes the main part of the build. Tomorrow I will post about the water and electricity which, in my opinion is a bit unconventional :cool:
 
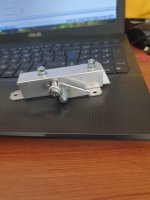
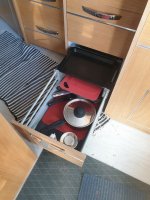
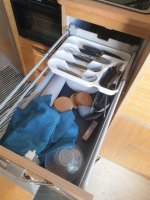
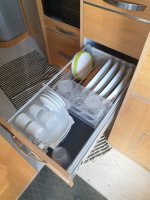
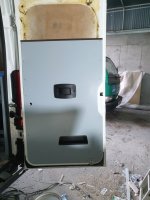
Then came the final big cabinet, the wardrobe. Due to the width the door which couldn't open completely because of the space available between the bed, I initially planned a double door cut in half vertically with a long piano hinge but then, when I looked at the space available, I only lacked a few cm so, I designed and built a special hinge that would compensate the space by changing the pivoting position. The cooking hood, which I built myself has the fan motor on the top shelf and the exhaust pipe goes to the bottom of the van.


View attachment 69448View attachment 69449View attachment 69450View attachment 69451View attachment 69452

You can see how the door retracts to gain the space needed.

That's clever
 
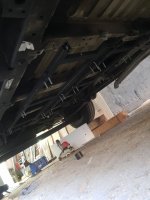
As promised, here comes some more. The two previous campervans I had, an old 1979 Hymer and a 1999 Pösll that I had bought very used, had only a 50 liter fresh water and waste tank with absolutely no room for improvement. The Hymer didn't even have a cassette toilet, just and old Fiamma portapotti so, this time I wanted to go big and decided to go for 200 liter fresh and waste capacity. Actually with an extra 45 liter hot water tank but I'll come back to that later. Another thing was the way the waste tank was attached to the underside with some strip galvanized conduit strap that risked dropping the tank due to salt corrosion. Fresh water tank was on the inside under one of the seats.

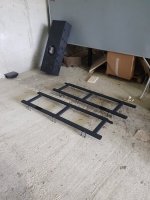
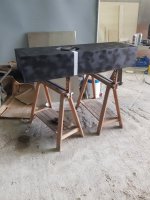
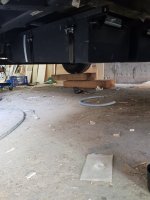
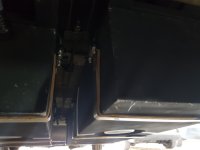
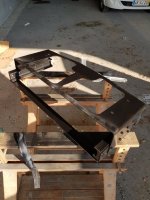
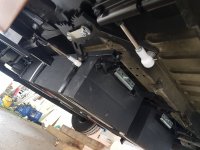
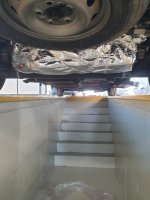
This had to be improved so, I built 2 sleds with strong stainless straps for the 2 gray water tanks, one 90 liter the other 110 liter and found room for an insulated 45 liter hot water tank between the axle and spare tyre.

20210718_110144.jpg20210718_110147.jpg20210720_190746.jpg20210725_180354.jpg20210725_180523.jpg
 
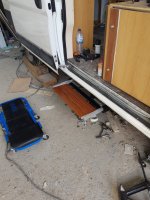
Since the van was in the air, I also mounted my custom made automatic step. By now you should already know that I only buy what I can't build :ROFLMAO:
The step ride on some nylon guides and I designed 2 special geared arms that I had water jet cut. This is driven by a crank mechanism by a 24v truck wiper motor that I rewound for 12v. The motor doesn't yet appear in the short clip. The step opens automatic with the door.

20210801_084325.jpg20210807_143933_001.jpg20210801_100518.jpg

 
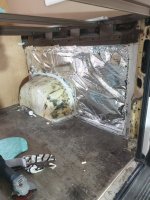
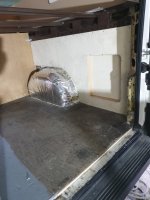
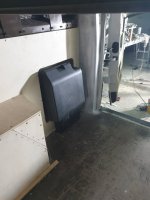
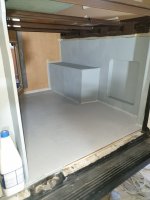
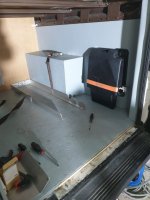
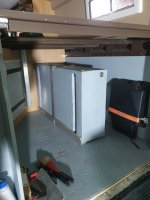
The 200 liter tank went into the garage "that was supposed to fit the bicycles as well :whistle:" so, I started to insulate and finish it. The spare tyre tool box lost its original position under the passenger seat so, I made a little niche to accommodate it.
20211005_135838.jpg20211005_174151.jpg20211007_191909.jpg20211008_180310.jpg20211011_183936.jpg20211012_184114.jpg
 
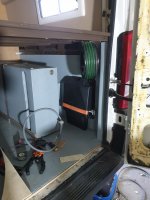
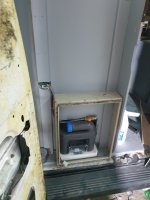
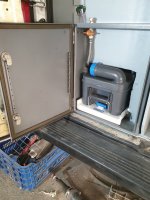
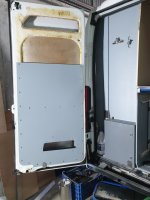
I wanted to avoid service openings on the side of the van for the power socket, water inlet, toilet cassette and more so, since you already have to store the hose used to fill the tank, I decided that this should be permanently connected to the tank. I took a fire hose rotary connection and a MIG welding wire spool and built myself a retractable filling hose. Speaking of hoses. I don't like the hose and hose clamp method in regular campervan water system so, the only hose and clamp I used was here :p. The cassette is also on the inside but, on my Pössl the gases from the vent valve would go into the van so, I cut an electrical cabinet to use the sealed door to prevent this and made a vent hole to the underside of the van. I also made little spaces on the back doors to store accessories and stuff.


20211013_175400.jpg20211014_183620.jpg20211016_090720.jpg20211024_081810.jpg20211024_081823.jpg

 
I was not prepared to shell the 1500€ plus they were asking for a Truma gas space/water heater so, I bought a Chinese diesel parking heater which will be mounted on the underside and decided to go solar/electric for the water. This is a whole new post so it will have to wait. Like I mentioned earlier, I don't like the hose/clamp solution so I used PEX with compression fittings in my plumbing. I run a pressurized system so my faucets are regular home use ones with ceramic cartridges and hot/cold water.


20210509_094647.jpg20210509_101430.jpg20210510_185246.jpg
 
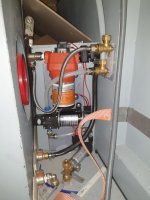
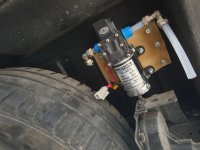
Like I mentioned before, my water system is always under pressure with 2 small pressure reservoirs controlled by 2 electronic pressure transducers These allow me to set any desired pressure on the system. The inside 200 liter tank is interconnected to the underside insulated 45 liter hot water tank. Similar to an household water heater with the exception that the hot water is pumped out by it's own pump. Initially I mounted the hot water pump next to the cold one but this is a high speed motor and the noise was terrible so I moved it to the outside mounted on a rummer sheet that dampens the vibration. The orange pump is the cold water one (had to use a hose and clamps because of the fitting that came with the pump but there is no pressure there so it shouldn't be an issue. On the hot water tank a 12v submerged heater is installed that only runs when the battery is full or when the van is driving. This is usually deactivated because the solar thermal heater works very well. There is a third re-circulation pump that takes the water to the panel to be heated. This is controlled by the system and waits for 2 hours after sun up to start testing for temperature. It measures the return water temperature and if higher than the tank it will carry on otherwise it stops. Usually by 15h00 the water is above 40ºC and at 45ºC the pump stops. In the following morning it's still above 30ºC

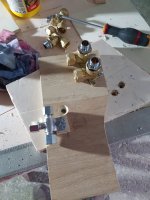
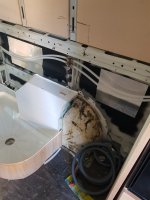
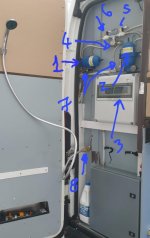
On the back of the bathroom wall I installed the water management system. 1- cold water pressure vessel, 2- hot water pressure vessel, 3- rear PLC control box, 4- automatic thermostatic shower mixer, 5- external shower solenoid valve, 6- internal shower solenoid valve, 7- electronic pressure transducers and 8- external shower quick disconnect. The shower water is push button controlled.


WhatsApp Image 2023-09-15 at 12.23.40.jpegWhatsApp Image 2023-09-15 at 12.24.57 (1).jpegWhatsApp Image 2023-09-15 at 12.24.57.jpegWhatsApp Image 2023-09-15 at 12.22.08.jpeg
 
The electrical system comes next. Let's see if you guys are prepared for it :whistle:
 
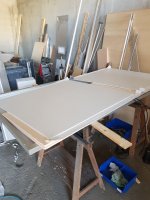
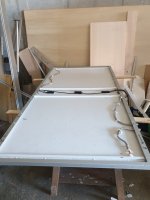
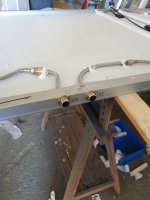
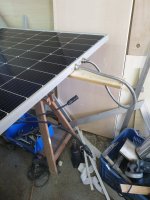
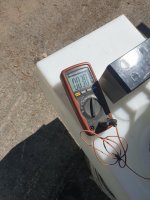
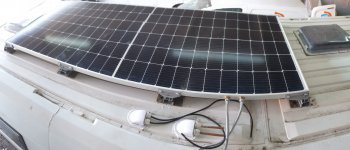
Let’s start from the top. The skylights were placed with space in between to accommodate a +/- 2000x1000 mm 450 W 144 half cell Mono Solar Panel. This panel delivers a maximum of 40.9 V @ 11 A. To take full advantage of this panel a 40 A MPPT solar regulator was installed that can charge the 12 V batteries at a maximum of 35 A. Since I had almost 2 square meters of panel space, I thought it would be interesting to harvest the sun’s heat on that massive panel. The idea was to glue two PVC “corrugated cardboard” style panels. These panels would be sealed on the edges and a slot opened with the router would allow to direct water through the panel and heat it up. It would be a Hybrid Solar Panel. Gluing PVC to the EVA plastic material is very difficult but I found a special spray glue that is not available to the public but I was able to acquire. I built the panel and put it to the test and was very satisfied with the result. A tank with around 40 litres of water with a small circulating pump on a sunny Saturday between 10H00 and 12H00 raised the water from tap cold to 38ºC. With a valid experiment I reinforced the inside of the panel with some wood strips to protect from vibrations and made a structure to receive the panel.


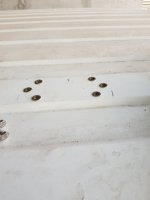
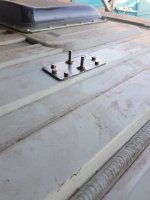
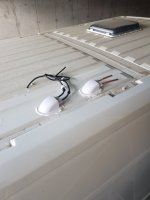
Two square meters of panel on the roof driving at 100 Kph might generate a serious force so, some serious measures were taken. Some SS plates were bolted with rivet nuts to the roof end some aluminium supports added. Cables and pipes were routed to the roof and the panel was connected.

20210816_191540.jpg20210816_191558.jpg20210819_180734.jpg20210820_182148.jpg20210820_182207.jpg20210821_152525.jpg20210822_113129.jpg20210814_185142.jpg20210814_185136.jpg20210807_093821.jpg20210825_165633.jpgWhatsApp Image 2023-09-15 at 15.12.19.jpeg
 
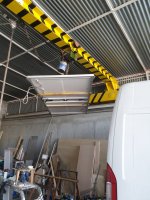
Final stretch :giggle: As I mentioned before, my day job is at a big recycling company which one of their plants near my home. I work at another plant some 30 km away. It's a family owned company and I know the owners for a very long time. I used to own a small company and when the time came to close up shop, they changed from being my customers to being my bosses :giggle: I've been there for more than 12 years and don't regret the decision I made then. Maybe it should have been sooner. Anyway, the plant near my home has a space reserved under roof where I parked my other camper and helped with the decision to build the new one. I had the space and access to other tools I don't have such as big metal guillotines, press brakes to bend the sheets of aluminium and access to many bits and bobs used in the build. It would be very difficult to replicate an exact copy of this build since many materials came from recycling stuff that would be otherwise shredded into scrap metal.

Back to my function in the company, I rebuild the control cabinets of many machines we buy used to apply in our many sorting lines so, automation equipment have few secrets to me.

At home I also have a lot of equipment and tools. I have a small lathe, a small milling machine, all kinds of metal working tools and equipment such as grinders,sanders, drills and so on. On woodworking I have a small thickness planer, electric planer, belt sander, disc sanders, router, jig saws and a selection of hand tools. I also have a small (little bigger than A4) CO2 laser and a small also well equipped electronics lab including double sided printed circuit board design and build capacity. So, I usually say that anyone can do a project like this but I guess I can say I'm a lucky guy ;)
 

Users who viewed this discussion (Total:0)

Back
Top